You stare at a blank page, stylus in hand, trying to sketch a sleek VR controller—but it comes out lopsided, stiff, or worse, generic. The problem? Most tutorials treat gaming controllers like static plastic bricks. They ignore the curves that hug your palm, the subtle angles of trigger buttons, the hidden geometry of sensors. And now you’re stuck with amateurish drafts that kill your concept before it even hits 3D modeling. Here’s the fix: forget realism first. Start with gesture, flow, and function—and everything else follows.
Why Standard Drawing Methods Fail for VR Controllers
Drawing a toaster? Fine. A smartphone? Manageable. But a VR controller? That’s organic tech—designed for motion, grip, and ergonomics, not symmetrical beauty. Traditional “draw what you see” methods flatten dimensionality. You end up tracing outlines while missing how the thumbstick nestles below the index trigger, or how weight distribution affects perceived balance.
And most online “easy drawing” guides recycle the same Xbox-style silhouette. Useless for Oculus Touch or Valve Index designs. Worse—they skip the critical step: understanding why certain forms exist. Form follows function in VR hardware. Ignore that, and your drawing feels dead.
gaming controller easy drawing: A Step-by-Step Workflow That Actually Works
Forget perfect lines. Focus on intent. Here’s how top concept artists rough out compelling VR controller sketches in under 10 minutes:
Start With the Grip Skeleton
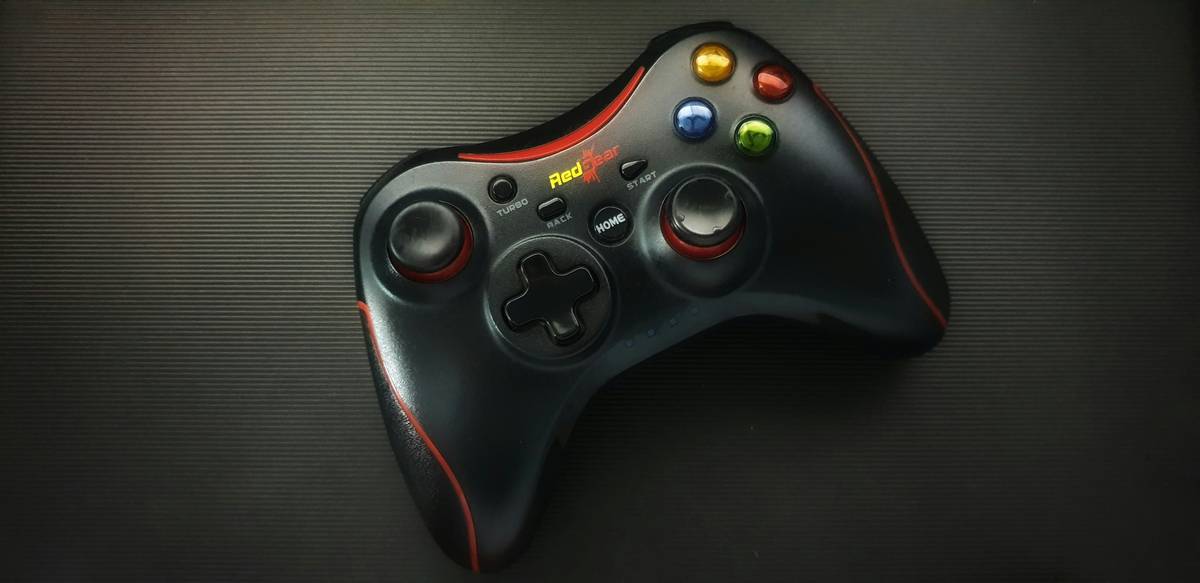
Block out two ovals—one for the palm, one for the fingers. Connect them with a light C-curve. This isn’t about accuracy—it’s about capturing the natural arch your hand makes when holding a controller. Miss this, and your whole form fights human anatomy.
Map Functional Zones, Not Buttons
Don’t draw individual triggers yet. Instead, shade three zones: thumb area (trackpad/thumbstick), index zone (trigger/grip button), and rear housing (battery/sensors). This keeps you focused on user interaction, not surface details.
Exaggerate Depth Early
VR controllers live in 3D space—your sketch must hint at that. Overlap lines aggressively. Let the front plate visibly protrude past the rear shell. A slight tilt (15–20 degrees) sells depth instantly.
| Approach | Time Required | Realism Level | Best For |
|---|---|---|---|
| Gesture-First Sketching | 5–8 min | Stylized/Conceptual | Ideation, pitching, storyboarding |
| Reference Tracing | 15–25 min | Photorealistic | Technical documentation, patents |
| 3D Model Projection | 10–12 min (after modeling) | Hybrid accurate/stylized | Marketing renders, UI overlays |
The Industry Secret: Designers Don’t Draw Controllers—They Draw Hands First
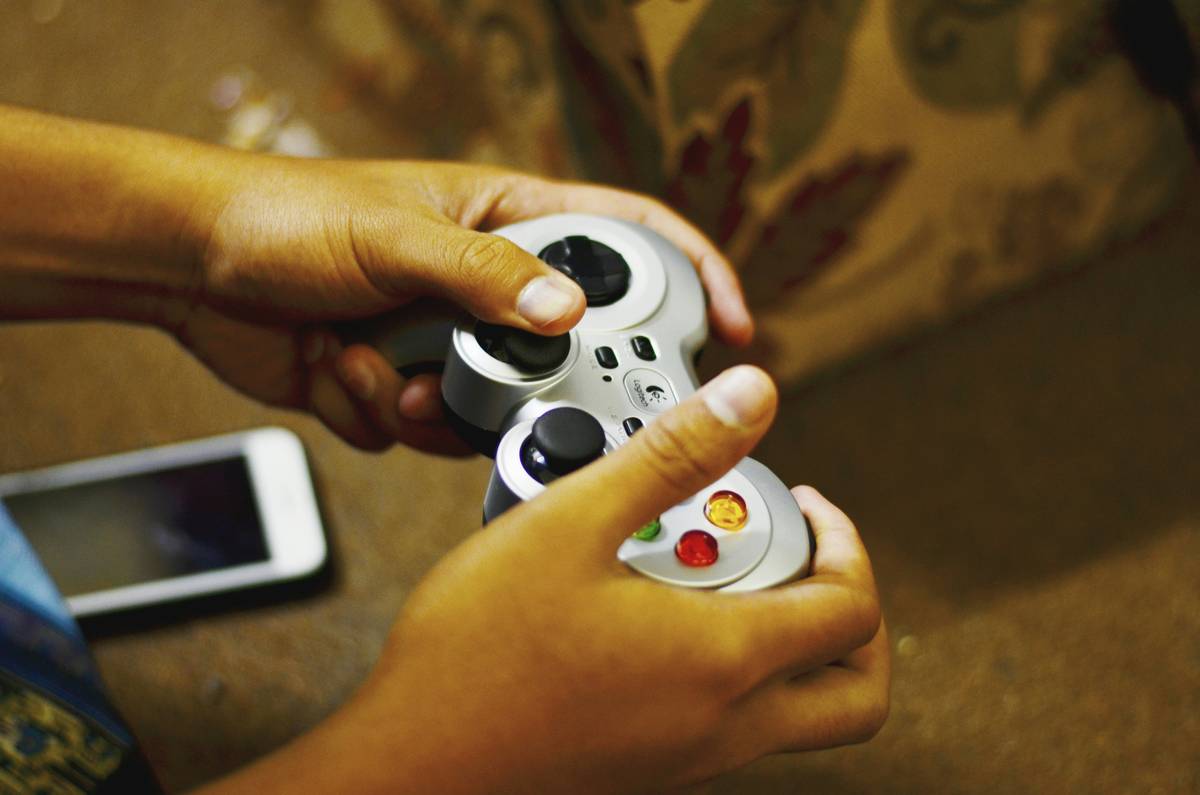
Here’s what no tutorial tells you: elite VR concept artists begin with the hand—not the device. They sketch fingers mid-gesture, then wrap the controller around that pose. Why? Because comfort dictates form. Valve’s Index curves match the metacarpal arch. Meta’s Quest controllers taper where pinkies naturally rest. If your drawing ignores biomechanics, it won’t feel “right”—even if proportions are perfect.
Try this: draw a relaxed hand holding nothing. Then imagine the controller growing from the palm outward—like an exoskeleton emerging from skin. Suddenly, seams align with knuckles. Buttons sit where fingertips land. Your gaming controller easy drawing gains instant credibility.
FAQ
Can I draw a VR controller without reference images?
Yes—if you understand ergonomics. Focus on hand posture and functional zones instead of brand-specific details. Your sketch will be original and structurally sound.
What pencil or tool works best for quick controller sketches?
A soft 2B pencil or a digital brush with light pressure sensitivity (like Procreate’s ‘Studio Pen’). You need fluid lines, not rigid edges.
How do I add realism without overcomplicating the drawing?
Add just two depth cues: cast shadow under the grip and a highlight on the primary button. That’s often enough to sell 3D form.